Science-Backed Ingredients for Real Results
We prioritize ingredients supported by clinical research—not trends—so every product is designed to deliver visible, reliable results for your skin.
FREE SHIPPING ON ALL ORDERS
Explore Ara by Essence
We prioritize ingredients supported by clinical research—not trends—so every product is designed to deliver visible, reliable results for your skin.

Formulated with Your Health in Mind
Over half of beauty products used by Black and Latina women contain cancer causing ingredients. Toxic preservatives were present in 47% of skincare and 58% of haircare items. Our mission is to change that—by offering safe, effective skincare.

Industry Favorites, Reimagined
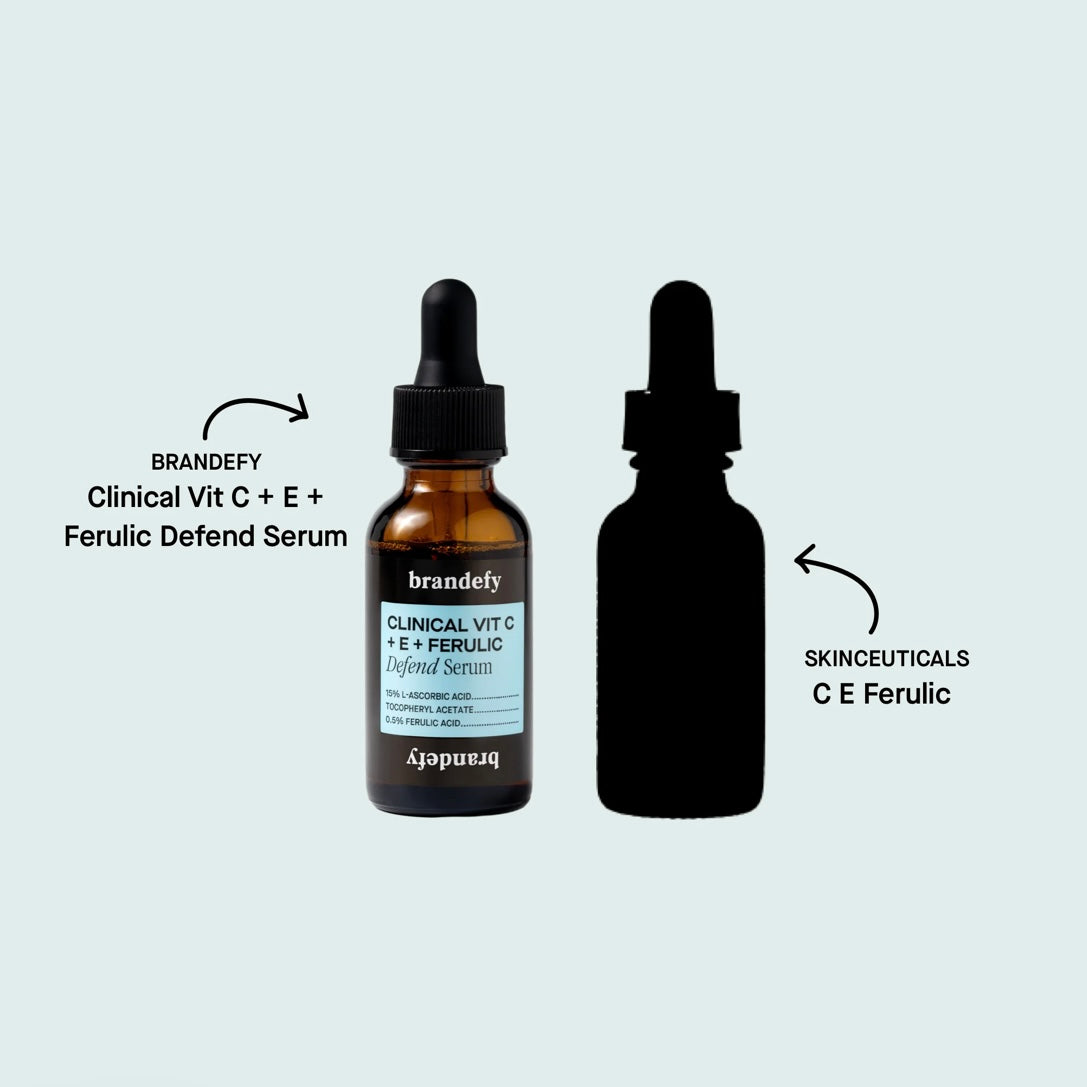
Our formulas reflect the quality and efficacy of top-tier skincare—made with the same cutting-edge ingredients, minus the branding hype and price markups.

Free Skincare Education, Always
Our blog is a free resource packed with expert-backed tips to help you build healthier self-care rituals at home—no gatekeeping, just real knowledge.


In my nine years as a licensed esthetician, I’ve found that one of the leading causes of hyperpigmentation is improperly popping pimples at home. This occurs because the skin experiences trauma, which triggers an overproduction of melanin, resulting in dark spots and discoloration.
While breakouts can be frustrating, there are ways to minimize the risk and severity of hyperpigmentation. Here are the three key steps I always recommend to my clients for healthier skin recovery after a breakout.
Did you know that a pimple is actually a tiny local infection? That means it deserves a bit of TLC—think of it like a micro-sized medical procedure you’re about to perform. So, grab your Q-tips, and let’s turn this into a step-by-step, blemish-busting adventure.
Step 1: Know When to Pop (and When to Stop)
Timing is everything! The key to successful pimple-popping is patience (yes, really). A pimple is ready to be popped when it’s come to a head—look for a white, bulbous tip that’s practically begging to be evicted. If it’s flat, red, or painful to the touch, chill out! Premature popping can lead to irritation, scarring, or worse—a bigger breakout.
Step 2: Prep Your Skin Like a Pro
Now that you’ve identified a poppable pimple, it’s time to prep. Clean skin is non-negotiable, so start by cleansing the area with a gentle face wash. Follow up with a light exfoliation to soften the dead skin cells around the blemish and loosen up the pimple’s “membrane” (fancy word for the outer layer). This step makes the process smoother and less traumatic for your skin.
Pro Tip: A warm washcloth or a quick steam can also help open up your pores and make the skin more pliable.
Step 3: Sanitize Everything!
Wash your hands thoroughly, and grab two Q-tips (clean ones, obviously). Q-tips are your best friend here—they’re way more sanitary than using your fingers and prevent bacteria from spreading to other areas of your skin.
Step 4: Pop Like a Pro
Here’s where the magic happens. Hold a Q-tip in each hand and gently press from opposite sides of the pimple, applying light, upward pressure. Think of it as a gentle coaxing motion—not a full-on squeeze!
Keep going until you see a tiny drop of blood or clear fluid. That’s your signal to stop immediately. Over-squeezing can lead to inflammation and scarring, so don’t overdo it. Remember: less is more!
Step 5: Post-Pop Care
Congrats—you did it! Now, give your skin some post-pop love. Dab the area with an antiseptic (Hypochlorous acid is my fav) or a toner containing salicylic acid to keep it clean and help prevent further breakouts. Finish with a soothing moisturizer to calm the skin and lock in hydration.
Pimple Popping Do’s and Don’ts
- DO wait until the pimple is ready.
- DON’T pop cystic or deep, inflamed pimples—leave those to the professionals.
- DO keep the area clean before, during, and after.
- DON’T reuse dirty tools or Q-tips.
But remember—sometimes, less is more, and leaving a stubborn blemish alone is the best option. When in doubt, consult with your esthetician (or me!) for guidance. Your skin will thank you.